

How To Clean A Glock 42
Gun Cleaning How to Videos

A pace by step video on how to disassemble and clean your Glock 42 handgun.
RECOMMENDED GUN CLEANING SUPPLIES FOR YOUR 9mm GUN CLEANING KIT
.
.
Pace ONE - MAKE SURE YOUR PISTOLIS UNLOADED
First things beginning. Allow'south make certain the weapon is unloaded. Remove the magazine then open the slide and make certain that the chamber is empty. This isn't the time to cut corners, take the time to make sure your firearm is unloaded and safe.

STEP TWO - DISASSEMBLING YOUR GLOCK 42
1. At present that we are absolutely certain the gun is cleared, release the slide, signal the gun in a prophylactic direction, and pull the trigger.

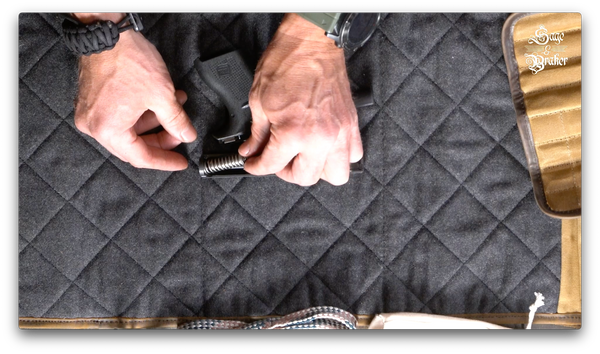
ii. Wrap your hand around the rear of the firearm like you lot run into in the photo here and pull back on the slide. You don't demand information technology to get far back, just a little volition do.

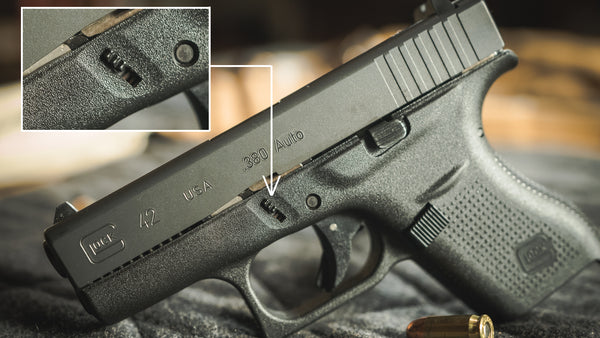
3. Now with your other mitt pull down the takedown lever. The below photograph shows you where the takedown lever is.
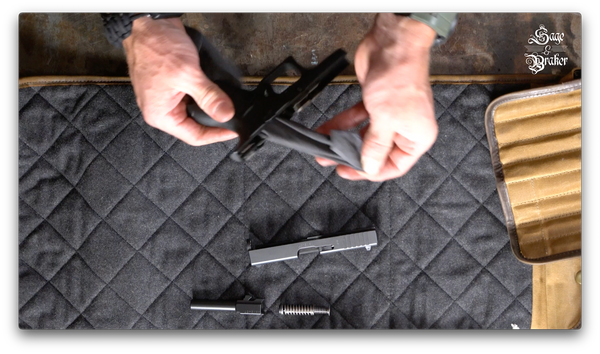
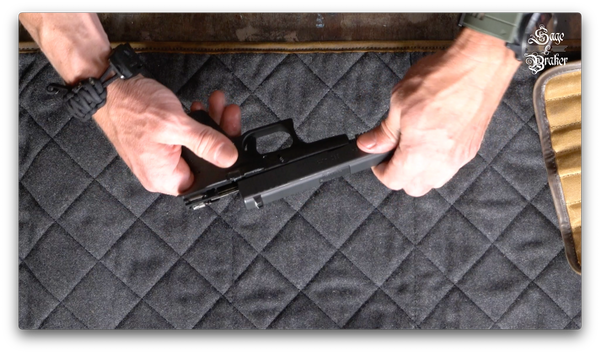
4. You tin can now release and push the slide frontwards. Place the slide to the side.

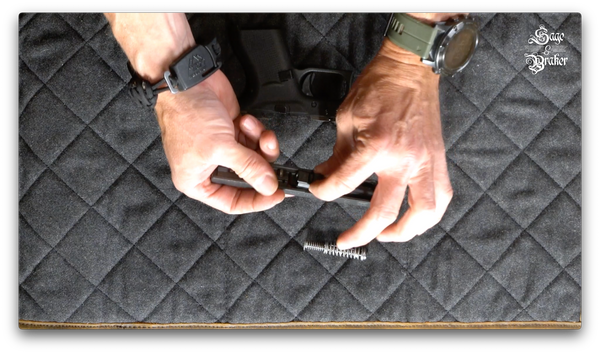
5. Remove the recoil spring from the slide.

6. At present remove the butt from the slide.
Pace THREE - CLEANING YOUR GLOCK 42
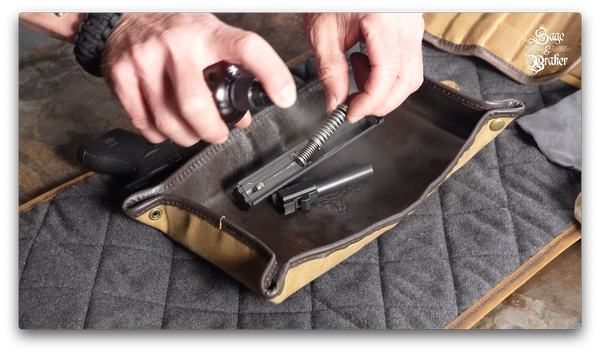
1. Your Glock 42 is now disassembled and ready for cleaning. Take hold of some sort of firearm parts tray. A gun parts tray is a great way to assistance contain the mess that is often involved in cleaning your firearms and allows the parts to soak in CLP.
Place the recoil bound, butt and slide into your parts tray.

2. Catch some CLP and spray down all the parts in the tray. CLP is a gun cleaning solvent, gun oil and protectant fall in one. It's essentially a solvent for gun cleaning every bit well as a solution to keep your gun well lubricated.
Be sure to give a few squirts downwards the diameter. Everything else gets a good soaking as the CLP is going to do the heavy lifting for you lot when it comes to cleaning your handgun.
iii. Let the parts soak in the tray for a few minutes. After that we are going to scrub them with a nylon gun cleaning brush.

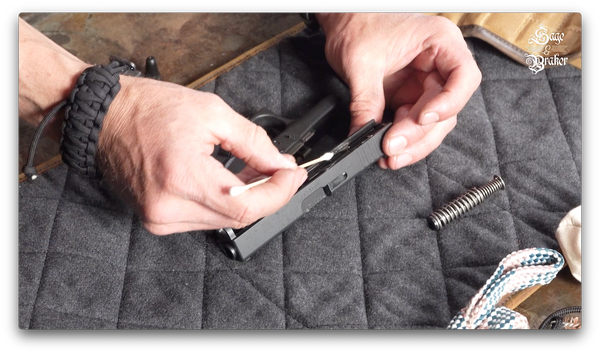
Yous'll spend the almost fourth dimension on the slide. Get in and castor downwardly the rails. If you have a narrow stop on your nylon castor, this is a keen spot to utilize information technology.
Requite the breech face a skilful scrubbing besides. Concentrate some endeavour on the extractor. This is a crucial role of your firearm that you want to keep clean.

Obviously it doesn't matter the lodge you're cleaning these parts, just make sure all surfaces get a good work over.
The interior of the frame could use a cleaning while we're at it as well. Make certain to striking the rails and trigger group. A piddling piece of work on the mag well wouldn't hurt either.
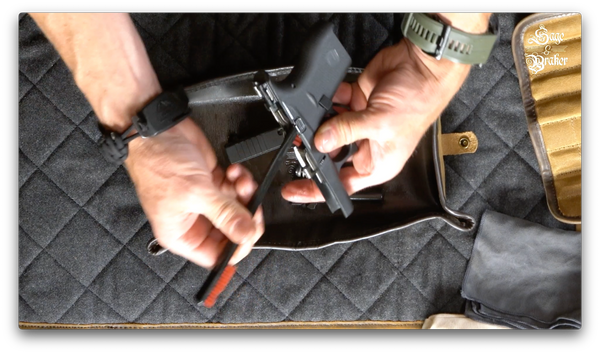
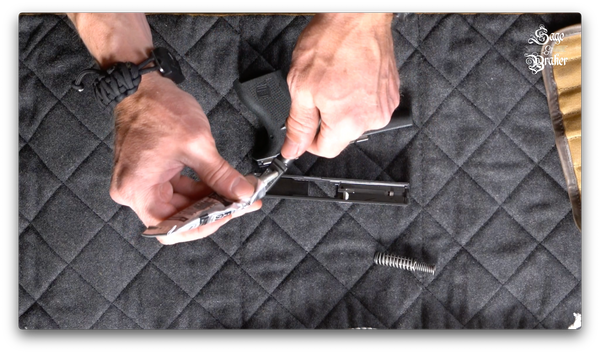
4. At present we'll pull a 9mm / .380 caliber bore cleaning kit through the gun'due south bore. You lot could pull information technology through while the firearm is assembled, just since it's already broken down, we'll do it like this.

Be sure to send it through the breech stop of the barrel and pull it through towards the muzzle. Ane pull through typically does the play a trick on in all but the dirtiest of bores.
5. Next we'll catch a concur of our gun cleaning swabs and become to those areas that is going to be tough to reach with our gun cleaning material. Pay attention to the lug of the barrel.
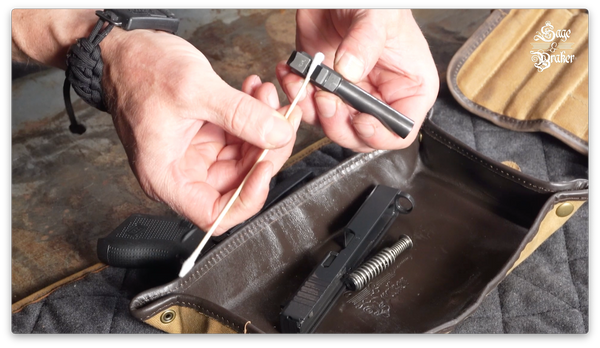
And then become to piece of work on the slide. The pointed end of our gun cleaning swabs works really well for getting inside the slide rails.

Have your time and pay attending, grit left behind will increase the vesture and tear on your firearm and so make sure to get all carbon and contaminants out of there. Nosotros depend on our firearms to be reliable and the best way assure this is to keep them well maintained.
Afterward that, clean up the grip module. Hitting the rails and anywhere else that looks like it has carbon on information technology.
6. At present everything gets a wipe downwardly with your gun cleaning textile. Become all the surfaces on the outside and interior. Avert using paper towels every bit they break autonomously and cease upward leaving little pieces of themselves in your firearm.
Every bit you lot make clean off the parts from the parts tray, fix them aside on your gun mat for reassembly.
Get to work on the slide next. All surfaces should exist wiped down.
Afterwards that wipe down the frame. You can send your gun cleaning cloth through the mag well to clean that upwards and make sure there isn't excess CLP in there.
Stride FOUR - REASSEMBLING YOUR GLOCK 42
1. Now we'll desire to give all metal parts a light spritz of CLP to properly lubricate it. Lightly spray the slide, frame and butt. A little on the recoil spring will assist foreclose any rust that could occur.

ii. CLP in nearly cases works perfect for lubrication. Just if you blow through a lot of ammo or don't clean your gun every bit often equally you should, a little chip of firearm grease might be helpful.
Apply a little bit of grease to the lug and barrel. You tin disperse information technology with a gun cleaning swab or your finger.
three. Place the barrel in the slide.

4. Hit the rails in the slide with a little flake of grease. Use the pointy stop of a gun cleaning swab to disperse the gun grease.
5. We'll at present insert the recoil spring associates. Insert the front end end first then printing the dorsum end of the recoil spring associates into its place confronting the barrel'south lug.
6. Afterward that y'all tin can push the slide dorsum onto the frame.
And there y'all accept it, a fully cleaned and lubricated Glock 42.
Source: https://sageandbraker.com/blogs/gun-cleaning-how-to-videos/glock-42
0 Response to "How To Clean A Glock 42"
Post a Comment